
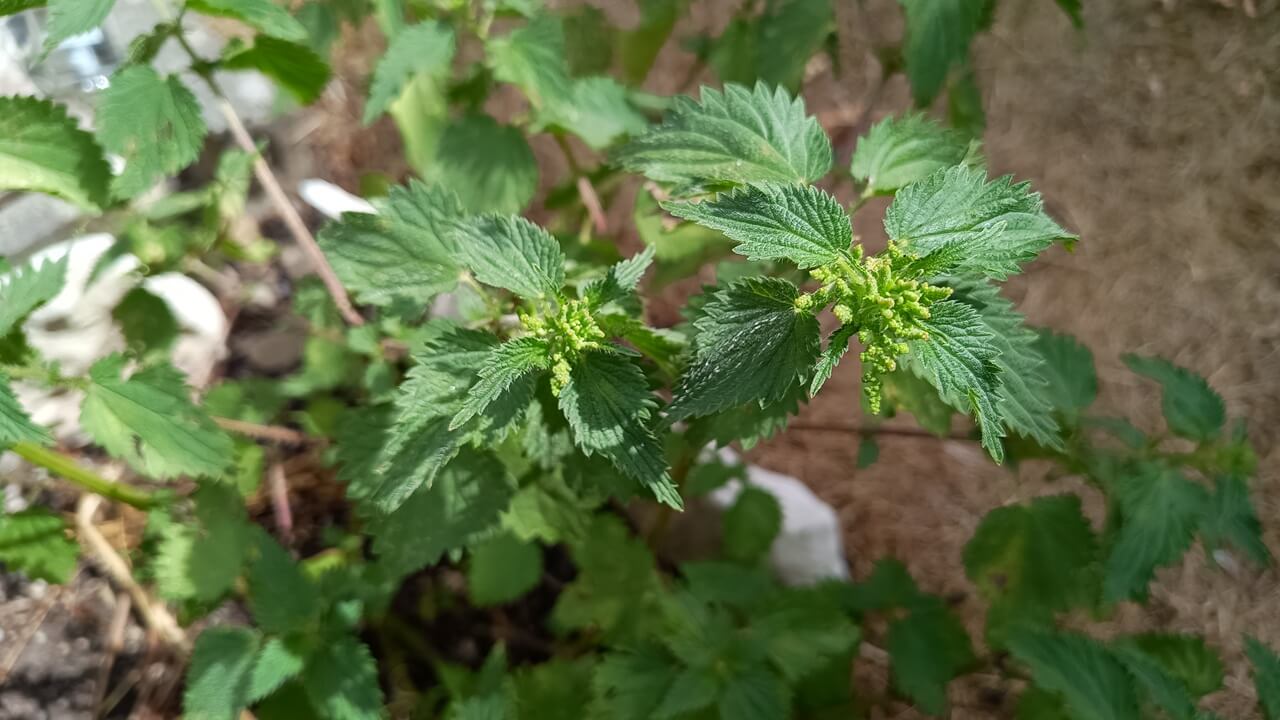
Something that I wanted to try out ever since I saw it, was to try and make “Beer” out of stinging nettles. Its a fun project which takes something that is usually seen as a weed, and turns it into something you can enjoy on a hot summers day. Beer!
Lets get the controversy out of the way, this is not beer by the modern and medieval standards, and could be more coined as a wine, hooch, or brew. I would argue that with the thousands of years of brewing up alcoholic beverages, terms can be taken a bit looser. So please don’t take offence when I am still going to call it beer in this blog post. Feel free to disagree.
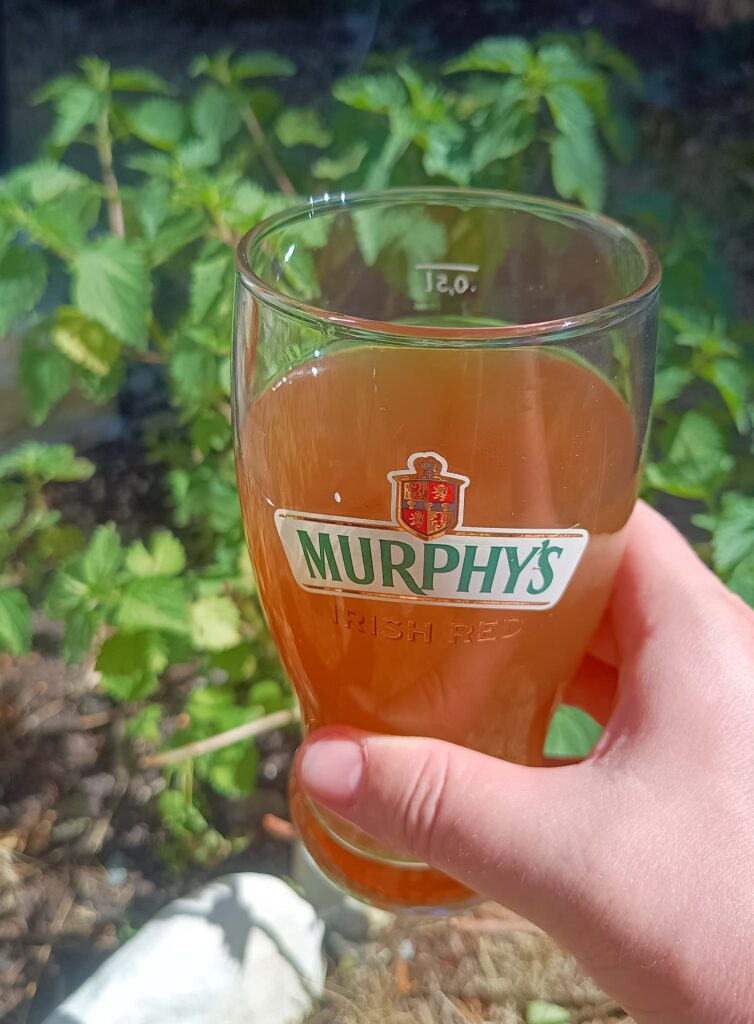
I love stinging nettles, and made soups with them since my early bushcraft craze as a teenager. So when I saw you can also make a beer out of them. I got excited. My homebrewing projects have just gotten started, and with a couple of brews for regular beer kits under my belt, I wanted to get started on a couple of the more historical and alternative projects. Enter the stinging nettle beer.
This recipe focuses on using the minimal amount of gear, ingredients, and a small batch size. With a total of 2.7 liters of wort. Which should land you at about 2.5 liters of finished beer. Or 5 standard beer bottles in Germany. Follow along and try it out yourself!
Ingredients
- Ale yeast (I used a heaping teaspoon of S04)
- Brown sugar – 260 grams
- Vinegar or Lemon juice – 7 grams
- Tops of Nettles one 2 liter ziplock bag full
- Water, I used Nürnberger land tap water. 2.7 liters
Equipment
- Stockpot, 10 liters (nettles take up a lot of space before wilting)
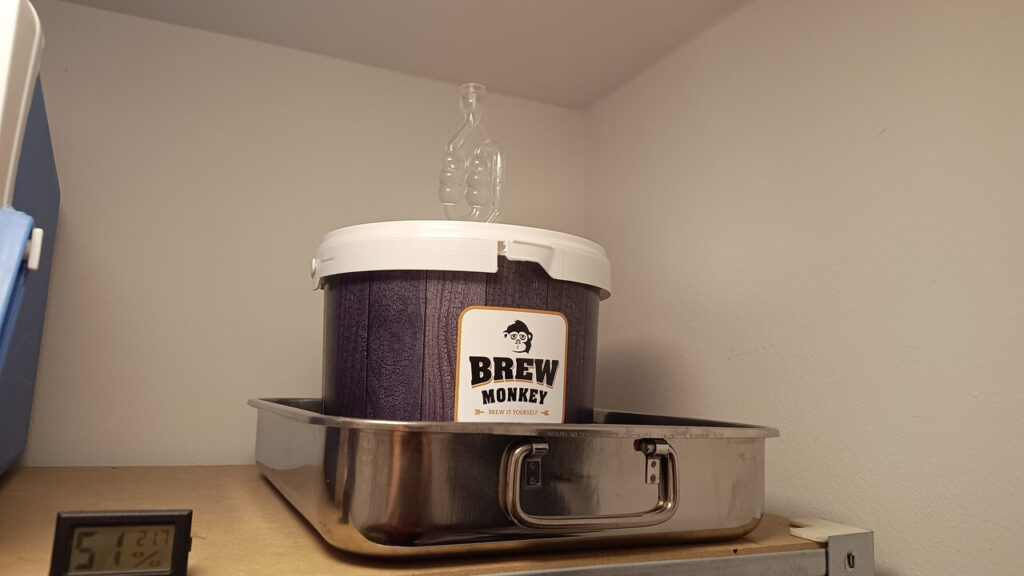
- fermenter, 5 liters. In my case a bucket with spigot and waterlock.
- Fine mesh sieve and / or colander
- Tongs
- Measuring cup
- Scale
- Hydrometer (optional)
- sanitizer
Preparing the Wort
Start with putting the water in the stockpot, putting the stove on, and returning to wash the nettles. Your probably not getting every speck of dust or bug, but you do want to give them a thorough wash.
Also one of the reasons I recommend starting out with a bit more water than needed. Then you can discard all the stuff that sank to the bottom.
When the water reaches boiling, add in all your washed nettles. And cook for an hour. When done boiling, strain what is now the wort, and clean up any bits and pieces you see floating around. Add back into your cleaned stockpot.
Now add the 260 grams of brown sugar, the 7 grams of vinegar, and bring once more to the boil to dissolve all the sugar. Stir in the first couple minutes to make sure it is not sticking. Boil for 15 more minutes.
Chilldown
Have some icepacks ready, and now transfer the pot with a closed lid, to your sink and fill first with cold water. Let sit for 5 minutes, refresh the water, and now add in your icepacks. Let sit and cool down until it reaches 25 degrees Celsius.
Be very neat about with everything that now comes into contact with the wort, since we are no longer gonna heat it up anymore.
While the nettle wort is cooling, prepare your fermenter by sanitizing and making sure its as clean as can be.
With the Wort reaching 25 degrees, you can transfer it over to the fermenter, take a reading with the hydrometer, and add the yeast, which can be the whole package. You can collect and save the yeast afterwards to brew again. Or just use a teaspoon if you want to keep it around in dried form.
Gravity
To take a reading with the hydrometer, refer to the instructions that you got with it. But it comes down to filling up the test tube, putting the hydrometer in, giving it a spin. And noting down the gravity when it settles. I landed at the following numbers:
Starting Original Gravity: 1032
Measured after 4 days at 25 degrees (during heatwave in Germany) Celsius: 1002
After ferment day 5: 998
With bottling sugar of 3 grams per 0.5 liters should land us around 4.7 %.
Store at room temperature in a dark space for two weeks, you will start to see activity pretty fast in my experience. And hear the first bubbles coming up out of the airlock after the first night.
Leave to ferment for at least a week before taking a second reading with the hydrometer, again, note this down, to see where you are at. The third and final reading can be 48 hours later. If it still jumped down a lot, leave it for a bit longer. If it only moved down a point or two, you are ready to bottle.
Bottling
Bottling you can make as complicated as you want, I disinfect my swing top bottles, fill with 3 grams of priming sugar, and fill directly from the spigot I have with my bucket. If you want to be more professional about it and make the job a bit easier, you can use a bottle wand. Just hold the bottle at an angle and tilt the spigot to minimize air or splattering.
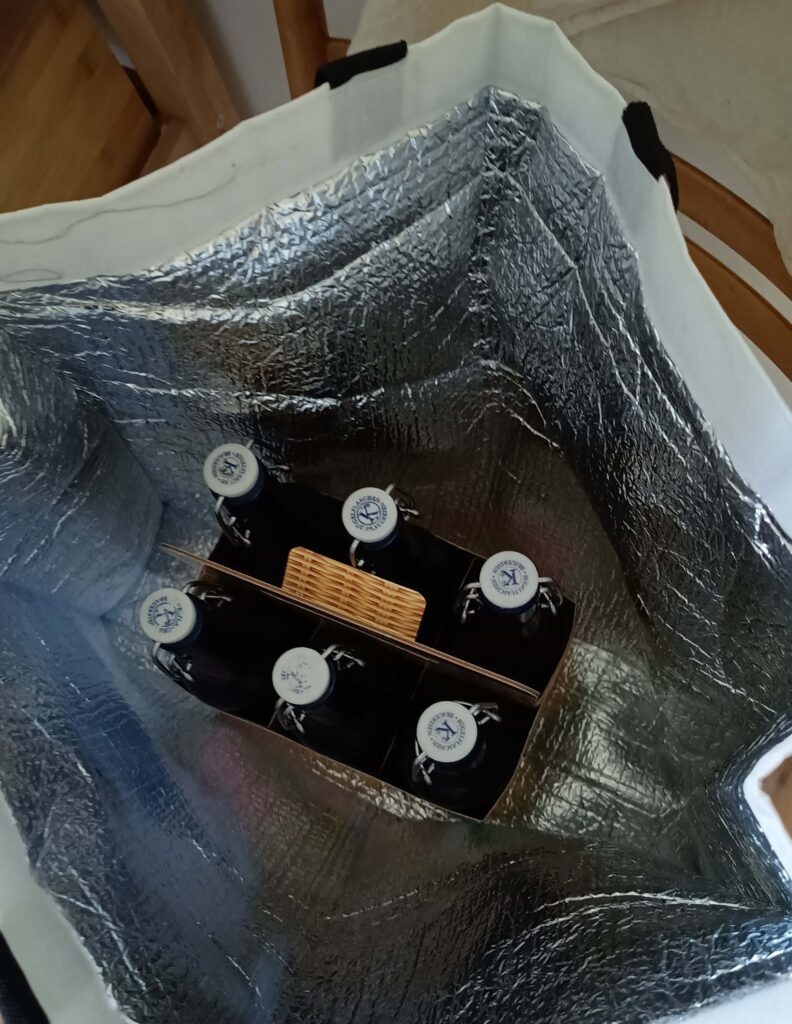
Store for at least a week in the bottle for the second fermentation to happen, or as long as you are patient for. I found that it improved a lot the longer it aged, with reaching its peak at around 6 weeks in the bottle.
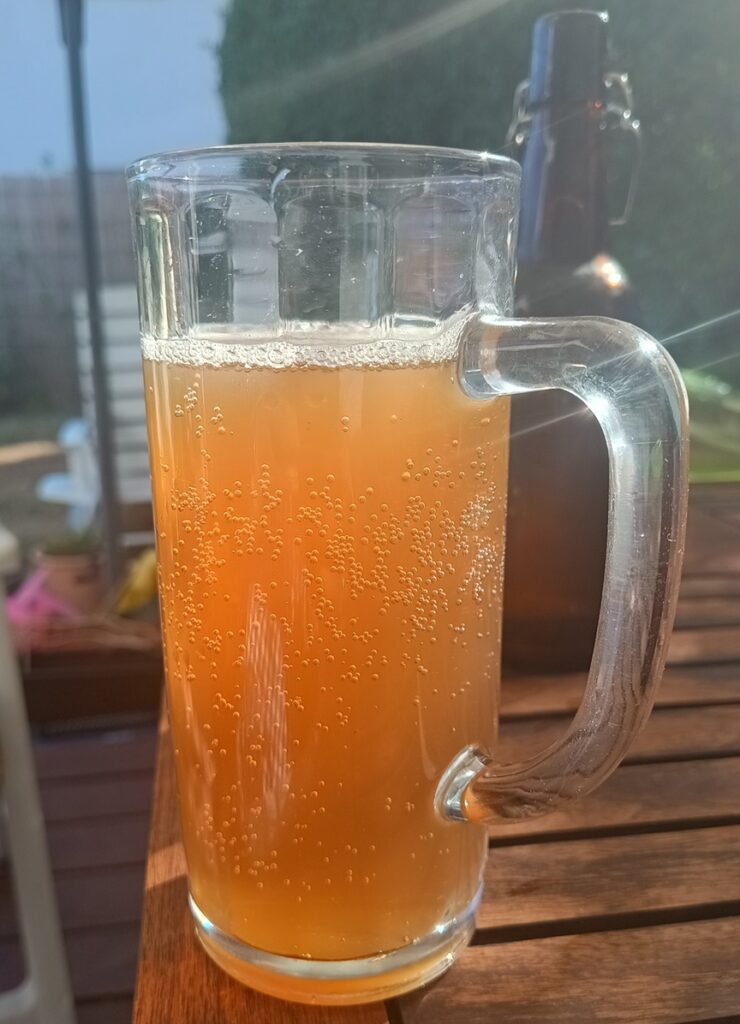
The taste reminds me most of a very light wine, or kombucha, and is very refreshing. Serve cold with some ice, or drink however you like.
Proost!
And please share the results off experiments you tried out down in the comments.
