
After getting a 5 liter beer kit for my birthday in 2026, I was hopelessly lost to the hobby. As many homebrewers seem to get.
Even though I didn’t really like my first beer, a Belgian blonde ale, as it became oxidised, and tasted like wet cardboard. It was also pretty heavy, at 6.7 % and the style in general is not my favorite. But the potential I saw in the hobby, was enough for me to dive in head first.
In any hobby, you can go crazy with spending a fortune to get started. Or you can dip your toes in to get properly settled before spending more. This is true for PC gaming, hiking, archery, and actually all my other hobbies.
Homebrewing seems to greatly affected though, with all in one systems being praised, but for getting all the kit associated can be a 1000 to 5000 euro/dollar affair. Money, and also space I don’t have lying around to spend on a new hobby. So I had to get a bit creative.
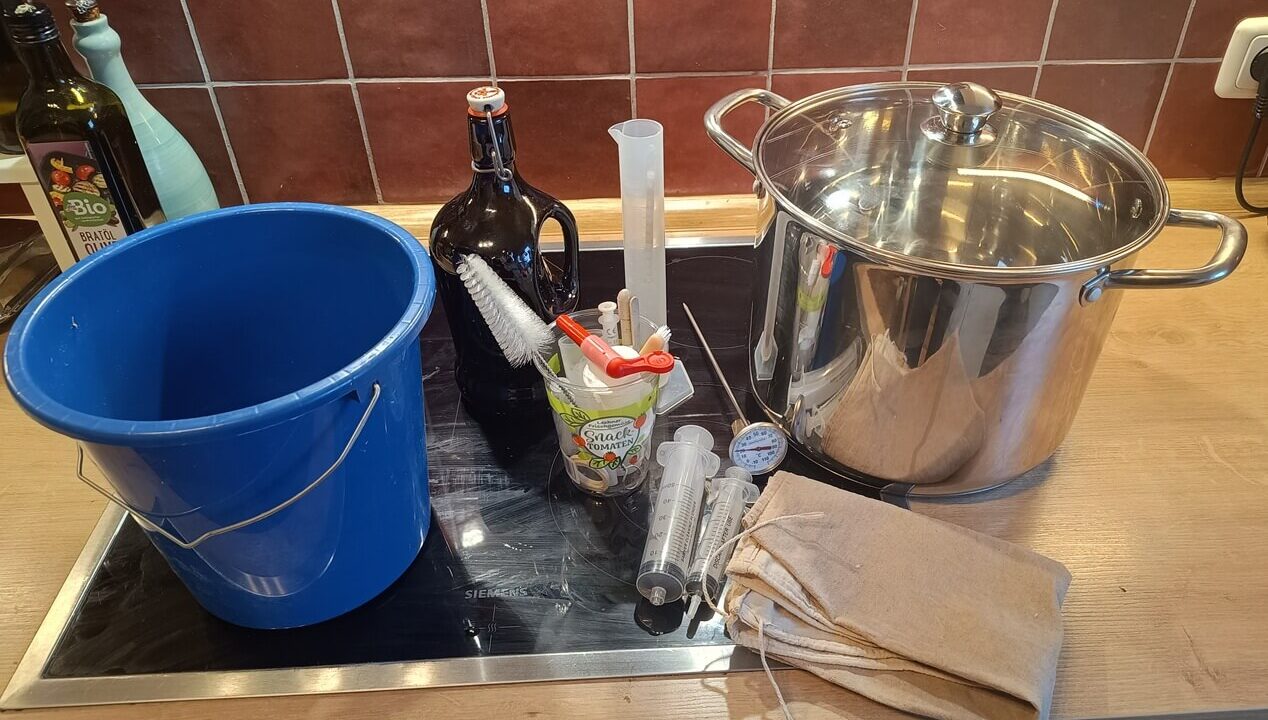
Let me take you through my budget setup for all grain brewing, with a cheap BIAB (Brew in a bag) principle for small batch brewing at 7 liters. Which is in my experience is great to practice and get your throat wet. Without going crazy in terms of space and funds needed. So you can do so as well, while living in an apartment like me. Or not having the space for a full setup.
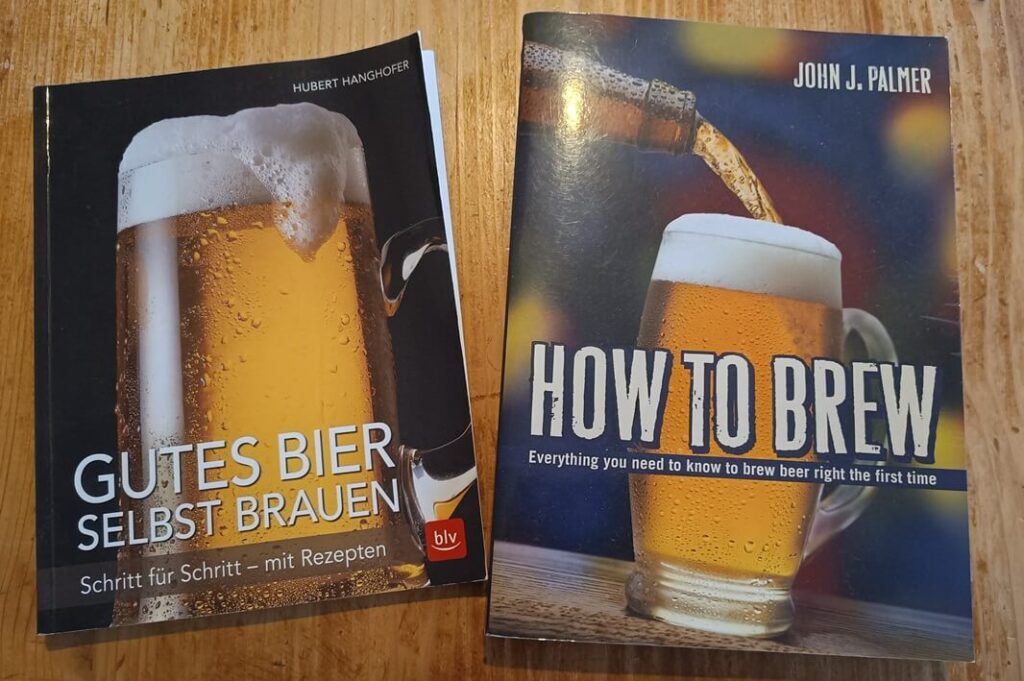
I am not brewing for years yet, and by no means an expert, I am just sharing what worked for me with entering this hobby so far. If you have any suggestions or doubts, please share them down in the comments. And remember to read books by the experts! John Palmer’s book is a great resource which I also have open every time I brew.
Heat source
For those first brews, you can use your stovetop, yes your house will smell like sweet wort for a couple of hours, but you don’t need a seperate stove or complicated gear. On this smaller scale, you can also still get acceptable heating times. Which with my standard siemens electro stove in this apartment is around half an hour to come up to temp, and around 45 minutes to reach to the boil.
When you already have a gas burner like I did for (car) camping trips, you can brew outside which is also great fun if you have a garden or balcony. And those burners take very affordable gas bottles, which at the time of writing, is just 0.95 cents. And last for ~1.5 brews.
Mashing and boiling
A pot and a bag, is all you need for a BIAB or Brew in a bag system. Which appeals to me a lot, with that I’m getting pretty much a 65 to 75 % efficiency, which at this scale and time I am happy with. You can improve this further I found by mashing for a bit longer than the standard hour.
The pot
I started with a 10 liter Ikea pot that I already had, which still works fine, but have found a cheap 11 liter stainless steel pot in the Tedi for 20 euros. Which comes with a glass lid, to see what’s going on. And measurement lines. Which made me switch completely to that one. Since this makes it a lot easier when filling.
My advice here is to get as big a pot as your budget and system will allow. Remember, more beer also means more bottles, more cleaning, bigger fermenter, and more space needed to store everything. For now, my 11 liter pot with 10 liter fermenter makes for a batch size of around 7 liters I am happy with. And more importantly, leaves plenty of room for experimenting.
It’s also easy to lift up, and does not require pumps or further equipment to get the wort where you need it to go. And, I can just throw it in the dishwasher when done brewing.
The bag
You can choose from a couple of different materials concerning your brewbag, I liked the thought of brewing in cotton better than with nylon or polyester. But nowadays I have got both. I think I prefer the cotton one so far, since the one I got is unbleached, easy to clean, and fits my 11 liter pot exactly.
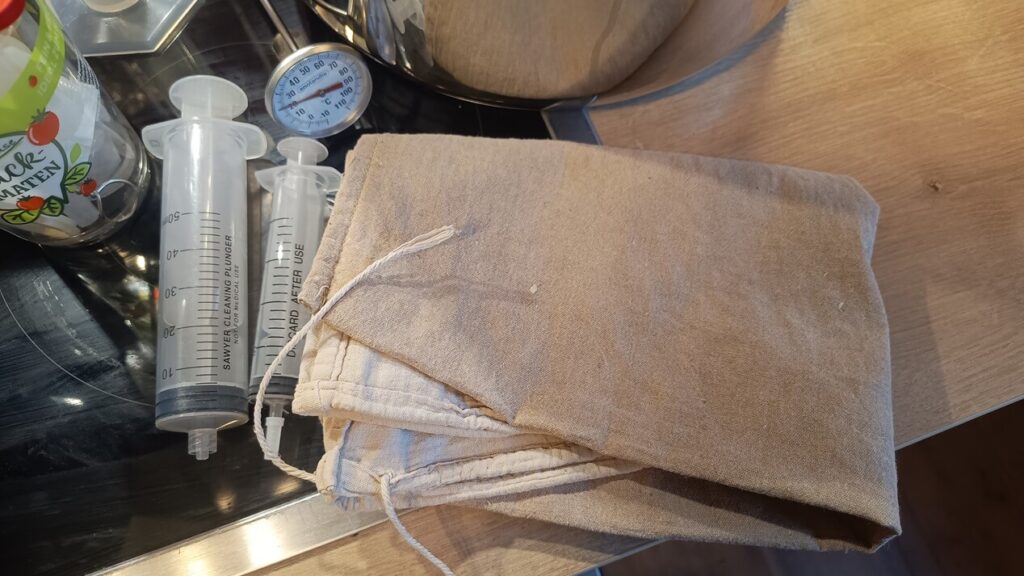
Cleaning is as easy as turning it over into your compost heap, rinsing and shaking it out a couple times. And then air drying. After drying you can shake it out a couple more times. Anything that still sticks adds to the flavor of the next mash.
Measuring
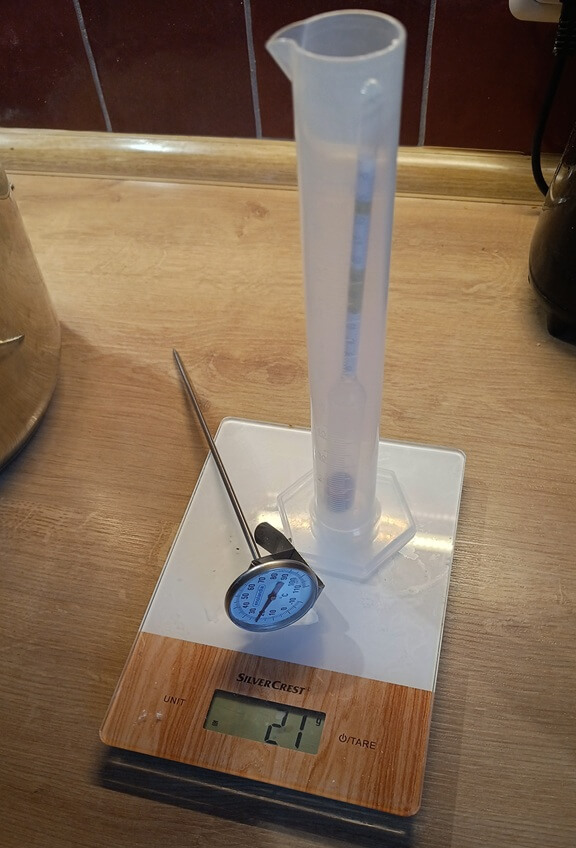
Measuring is knowing, as the saying goes in Dutch. And having a (digital) kitchen scale, hydrometer, and thermometer is needed to know what is going on. And what step to take next on the list. I recommend getting all three if you don’t have them yet.
Takes a lot of the guesswork out of it, something that you can do with more experience. But for me, I will stick to what I can prove and see in front of me.
My brew monkey beginner set came with the hydrometer and thermometer, which is a great help. If given the choice, a digital instant read thermometer is probably gonna serve you better. But I like the analog one.
Chilling
I use the simplest solution in my brewing, which consists of filling up the sink with as much ice and water as it can hold. And dunking the brew pot into there. While moving the water around outside, and the wort around on the inside.
It works OK, I would describe it as. And this is probably the first thing that can be worthy of an upgrade. With an immersion or plate chiller. Or a different solution.
You can also make a hybrid and undershoot the water volume, and add homemade ice directly to your hot wort to cool it down faster. Or go no chill, which I have had some success with already as well with a batch.
Fermenting
Fermenting can be done in a variety of different containers and vessels. In my first kit, as many others, I got a small 5 liter plastic bucket with spigot. And I really liked the simplicity and ease of cleaning about it. But the size was even for the theoretical 5 liter capacity quite small.
Thanks to the village snackbar I got some 10 liter buckets for free, as he kept them aside for me after using the contents. (Which was one of my favorite sauces, Fritessaus by Oliehoorn.) If you are not friends with your local fast food spot, than instead go to a DIY store and pick yourself up a food grade bucket. In the size that your system can handle.
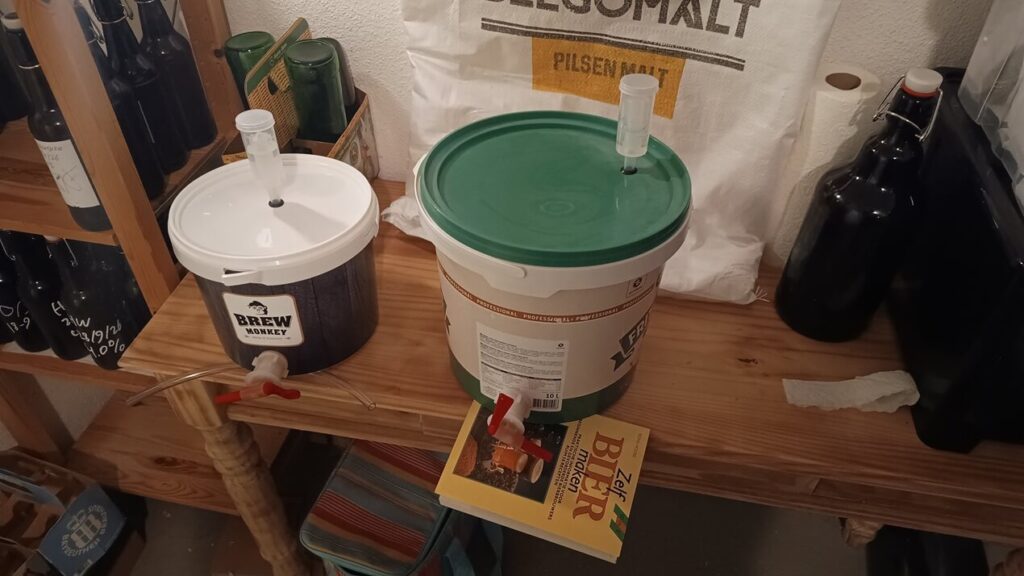
Combine the bucket with a spigot set, and some waterlocks I ordered online for cheap. And some tools, like a step bit set that I got from the Kaufland for 3 euros. And I have fermenters for peanuts.
Temp control
Temperature control is something that can be done when you have an extra fridge, the space for that, and the budget for a control unit. But so far for my first 10 batches I have done a combination of fermenting in a supply closet, that ran quite hot in summer at ~25 C.
After those first batches however I have switched over to carrying down the fermenters to the basement. Where the space is shared, but I still get a little room to myself. The temperature is way more stable there, at 18 C pretty much all the time. I have noticed fewer esters and off flavors since doing that.
If you have a spare fridge laying around in your basement, or have access to a cooler room in your house. Use that for more consistent results and more control. For if you dont, also take a look at your yeast solution that you use. Ale yeasts like s04 or nottingham, or kveik yeasts are known to more forgiving than others.
Repitching yeast
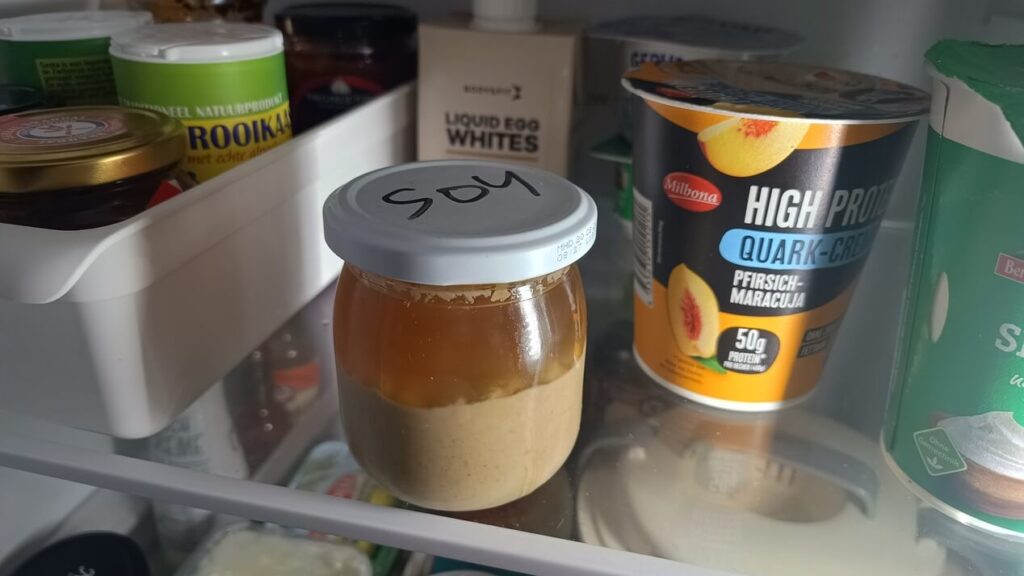
A trick I also picked up on YouTube and many other sources, is to simply reuse and store your yeast in the fridge. After fermenting your beer and bottling, you will have a yeast cake on the bottom of your vat, or bucket in my case, that you can swirl around with the leftover beer, and store in the fridge. Most say you can store and reuse your yeast that way for 6 months. I am also using this tactic, and have had great success with it. Even noticing shaving a day of fermentation compared to the same dry pouch, because the yeast is ready to work.
It saves you a few euro’s here and there for the yeast, and I think its nice that you can get sort of your own thing going. Without having to always get more yeast from the store, which in my case is only really an option to order online.
Bottling
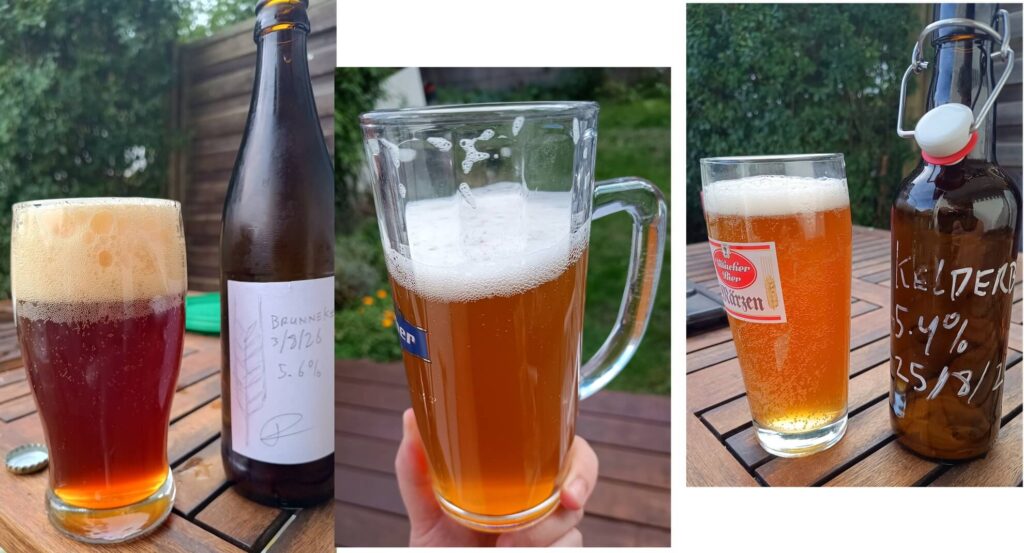
There is a lot of hate out there on bottling, but for the scale of batches I am talking about, I haven’t really developed a dislike for it yet. I took a lot of tips that I found online to make the process as easy as possible.
When going to 30 or 50 liter batches, I can see that bottling can become annoying. But for the scale, available storage space, and willingness to experiment. I still like bottling in half a liter bottles.
If you have the space, extra cash, and willingness to dive into kegging straight away. A lot of homebrewers tend to recommend it over bottling.
Using 0.5 liter swing top bottles
This is an easy thing to do here in Germany. I can go to the shop and pick up a case for around 15 to 20 euros, and also get “free” beer in the process. There are some moral concerns when it comes to disrupting the Pfand system, but on this scale I really don’t feel too bad about it.
I also leave the small brands alone, and switch out and rotate the bottles. By actually buying a case from a big company, returning the bottles that where regular ones. And then picking and choosing the creme de la creme of the single swing top bottles. Then you have the case for storing them in, and getting every bottle as new and good as can be.
If the moral concern is to much for you to take, you can always order yours from your favorite homebrew store.
0.5 liter and my batch size always mean I have around 8 to 12 bottles. Which is really not so bad to fill and clean. Swing tops are also way easier to close, and don’t need bottling caps and a capper.
Rinse rinse rinse!
When finishing pouring a beer in the bottle your going to reuse, then immediately rinse it out 3 times with water. Afterwards store upside down in a cleaned crate. This saves so much headache and time cleaning its not even funny. Start doing this now!
Spigots
On your fermenter, have a spigot, add a bottling wand, and bottle directly from this. Yes you will get some trub in there, but it just saves so much time and effort. No complicated auto siphons or racking canes which are a pain to use solo in my experience.
I bottle directly from the spigot with a wand, after first purging with CO2 from our soda-stream machine. And not closing the bottles immediately after filling, but resting the cap loosely on top. And securing after a few minutes. This is all anecdotal and stuff I picked up from watching and reading a ton of sources. So don’t take this as gospel, but it does work for me, as I have not noticed any oxidation anymore after doing those steps.
What also helps I found to not get so much of the trub into your beer, is to elevate your spigot side of the fermenter a bit, I use a book, to not get trub into the spigot.
Optional – Milling your own malt
When on a very tight budget, use the option to have your malt milled already when bought. But for the long run, buying in bulk and milling your own grain is great fun and a money saver.
I got a 25 kilo bag of Belgomalt Pilsner for around 24 euros, and should be able to brew for quite a while with at around 1.5 kilo of malt use a batch. Combine that with a 200 gram package of hop pellets, and at this scale you can brew for 20 to 25 times.
The manual mill sat me back 50 euro’s, and I will have to upgrade at some point in the future. So if you do go that route, I would suggest getting a drill operated one already from the start. Since you should be able to use that for years into your homebrewing. But for what it is, it only takes me around 10 minutes from start to finish to mill up to 2 kilos of grain. (I can use the exercise anyway, working in IT) If you do go for the drill operated roller mill, than do except to spend more on it.
The connection and journey you get from starting out with malt and grain you can touch and feel is worth something in the end product. But that is not my mind speaking but the heart.
All of the above items you can order cheaply from suppliers like Amazon, get second hand, or score off of local homebrew store. And everything cobbled together should land you around 150 euros to get going in this hobby.
I encourage anyone to try the hobby out, and if you love cooking, canning, or baking, it is connected in the same way for me. With the satisfaction of drinking something that you made. And that is something that they cant take away from you, in this world of hyper processed goods.
If you have any questions feel free to ask them. And I will try my best to answer them. I encourage everyone to read books, watch YouTube creators on homebrewing, listen to podcasts, and make your own workflow! Brewing beer is great fun, and a great hobby that does not automatically means you have to have a garage or big investment.
